Switching your restaurant POS system doesn’t have to mean lost sales, staff frustration, or weeks of disruption. With the right plan, you can transition smoothly in just 7 days—no stress, no downtime. Whether you’re upgrading outdated tech or moving to a more flexible platform, a well-structured process makes all the difference. In this guide, we’ll walk you through a step-by-step approach to switch your restaurant POS system quickly and confidently, ensuring your team stays productive and your service uninterrupted.
Switching your restaurant’s POS system can be quick and hassle-free. Here’s a simple 7-day plan to upgrade your operations without disrupting your business:
- Days 1–2: Plan your transition. Assess your current system, list your needs, check hardware, and inform your team and vendors.
- Days 3–4: Set up your new POS. Transfer data, configure settings, and test all hardware connections.
- Days 5–6: Train your staff. Use practice sessions and mock shifts to build confidence.
- Day 7: Launch during off-peak hours. Monitor performance, adjust settings, and ensure everything runs smoothly.
This step-by-step guide ensures a seamless transition while improving efficiency and accuracy. Ready to start? Let’s dive in!
Steps to Switch Your Restaurant POS System in 7 Days
Days 1-2: Plan to Switch Your Restaurant POS System Successfully
The first two days are all about preparing for a smooth transition to your new POS system.
Assess Your Current System
Start by identifying the issues with your current POS setup. Make a list of what’s not working and what needs improvement. This will help you choose and configure features that solve your specific challenges.
Review Hardware Needs
Take inventory of the hardware you’ll need, such as terminals, printers, and network devices. Also, ensure your internet connection and backup power (like a UPS) are ready to handle the new system.
Communicate with Your Team and Vendors
Keep everyone in the loop:
- Staff: Host a meeting to explain the timeline, go over the training plan, and address any questions.
- Vendors: Notify your partners about the switch date so they can adjust their processes accordingly.
Once these steps are complete, you’ll be ready to move on to Days 3–4 for system setup.
Days 3-4: Set Up the Tools to Switch Your Restaurant POS System
On Days 3 and 4, it’s time to fine-tune your Lavu system settings and ensure all hardware integrations are working smoothly.
Configure Lavu Settings
Get your system ready by customizing it to your business needs:
- Add menu items, modifiers, and prices.
- Set up tax rates, employee roles, permissions, and floor layouts.
- Enable features like happy hour or off-peak pricing.
- Link third-party tools like QuickBooks for accounting, Uber Eats for orders, and your payment processor.
Test Equipment Connections
Use off-peak hours to test your hardware setup and ensure everything is functioning as expected:
- Payment terminals: Run test transactions and check receipt printing.
- Kitchen display systems: Send test orders to confirm proper routing.
- Receipt printers: Print sample receipts to verify functionality.
- Cash drawers: Test opening and closing mechanisms.
- Network: Confirm Wi-Fi connectivity and test backup internet.
- Delivery integration: Place a test order to ensure smooth operation.
- Payroll integration: Export a shift report to verify accuracy.
These steps will help ensure your Lavu system is fully operational and ready for daily use.
Days 5-6: Train Your Team to Switch Your Restaurant POS System with Confidence
With hardware and settings verified, Days 5–6 should focus on preparing your team to confidently use Lavu before the official launch. Training your staff thoroughly can help minimize stress and avoid hiccups during the transition.
Hands-On Practice
Activate the training mode to let your team practice placing dummy orders, making modifications, and navigating menus. This hands-on experience helps them get comfortable with the system.
Simulated Service Scenarios
Organize mock service shifts to help staff improve their speed and accuracy. These practice runs also highlight any workflow issues that need to be addressed.
Encourage Questions and Feedback
Take time to gather feedback on what works well and where challenges arise. Use this input to refine your training materials and address any confusion.
Additional Training Tips
- Conduct a mock shift to troubleshoot potential issues like printer jams or network interruptions.
- Provide a visual POS layout diagram that mirrors your menu structure to make navigation easier for your team.
Day 7: Switch Your Restaurant POS System — Launch Day Essentials
Launch During Off-Peak Hours
Kick off your new system during slower hours. Keep both the old and new systems running simultaneously for 24 hours as a safety net.
Assign Monitoring Roles
Designate trained team members to oversee the system during shifts. Their responsibilities should include:
- Watching live transactions closely
- Ensuring orders are sent correctly to the kitchen
- Processing payments without errors
- Keeping support contact details readily available
- Logging any technical problems
- Having setup documentation on hand for quick reference
This approach helps ensure a smooth launch and prepares you to make necessary adjustments.
Fine-Tune the System
Use the feedback gathered during monitoring to refine your setup. Combine insights from Day 6’s staff input with real-time feedback from guests and team members. Adjust the system settings to better align with your operations and workflows.
Resources to Help You Switch Your Restaurant POS System Efficiently
As you prepare for the Day 7 launch, use this checklist and review the updates below to ensure everything is ready to go.
Setup Checklist
- Confirm that all hardware and network components are functioning properly.
- Back up menus and sales data to avoid any unexpected issues.
- Train your team on how to use Lavu effectively.
- Run a full system test to ensure everything operates smoothly.
Key Operational Updates
- Order processing: Switch from manual entry to digital systems for faster, more accurate handling.
- Menu updates: Replace manual adjustments with in-system updates for quicker changes.
- End-of-day reports: Move from manual reconciliation to automated report generation.
- Inventory management: Upgrade from periodic counts to real-time tracking for better stock control.
- Training: Use guided tutorials instead of lengthy in-person sessions for efficient onboarding.
- Payments: Transition from manual card handling to integrated digital payment systems.
- Table management: Ditch paper tracking in favor of digital floor plans for better organization.
Conclusion: How to Switch Your Restaurant POS System — Final Tips and Recap
Let’s wrap things up with a quick summary of the process:
Key Steps Recap
- Days 1-2: Evaluate your needs and plan accordingly.
- Days 3-4: Configure your system and complete the migration.
- Days 5-6: Focus on training your team.
- Day 7: Launch confidently.
Tips for Getting Started
- Go over your setup checklist and plan the transition during off-peak hours.
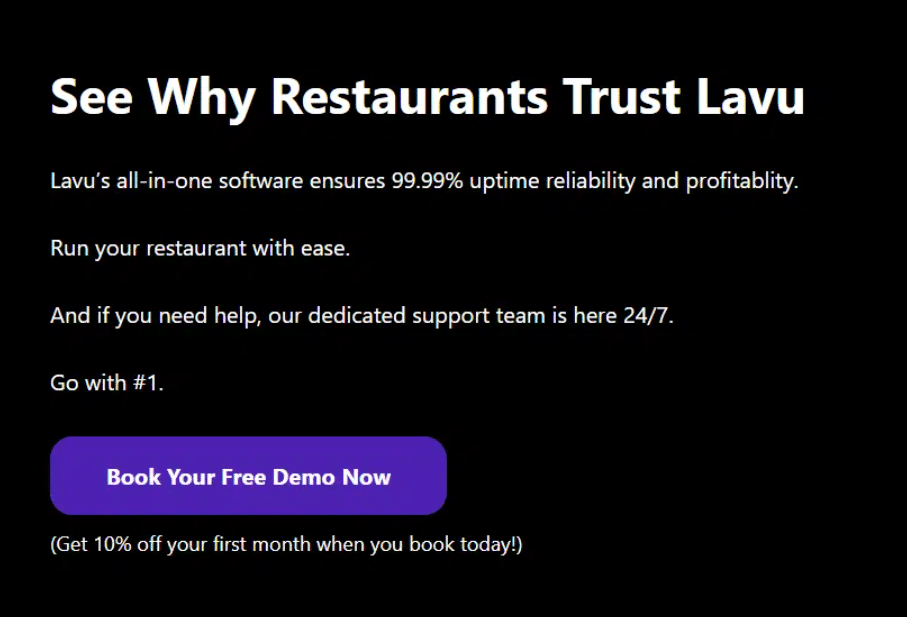
- Take advantage of Lavu’s 24/7 support and automatic updates to ensure everything runs smoothly.
Ready to go? Revisit your checklist and kick off your 7-day plan today!
FAQs
1. How do I switch my restaurant POS system without downtime?
To switch your restaurant POS system without downtime, plan a phased transition. Begin with system setup and staff training before going live. Choose a low-traffic time, such as early mornings or weekdays, to launch. Lavu offers guided onboarding and 24/7 support, ensuring your staff is ready before your new system is activated, minimizing any service disruption.
2. What’s the best way to switch your restaurant POS system in 7 days?
The best way to switch your restaurant POS system in 7 days is to follow a structured daily plan. Start by assessing your current setup, then configure and test the new system. Lavu’s streamlined onboarding process, along with hardware compatibility and remote assistance, helps restaurants transition quickly and confidently—often in under a week.
3. How do I train my staff when I switch my restaurant POS system?
When you switch your restaurant POS system, dedicate at least 1–2 days to staff training. Lavu provides interactive tutorials, live onboarding sessions, and a test mode so staff can practice using the system in real-time scenarios. Involving your team early ensures a smooth launch.
4. How much does it cost to switch your restaurant POS system to Lavu?
The cost to switch your restaurant POS system to Lavu varies depending on your restaurant’s size and hardware needs. Lavu offers flexible pricing, starting at affordable monthly rates. You can often keep your current devices, lowering the overall switch cost. Contact their team for a custom quote.
5. How long does it take to switch your restaurant POS system to Lavu?
You can switch your restaurant POS system to Lavu in as little as 7 days. Their onboarding team helps set up hardware, import menus, configure settings, and train staff. For small to mid-sized restaurants, the switch is often completed in under a week when following Lavu’s guided process.
